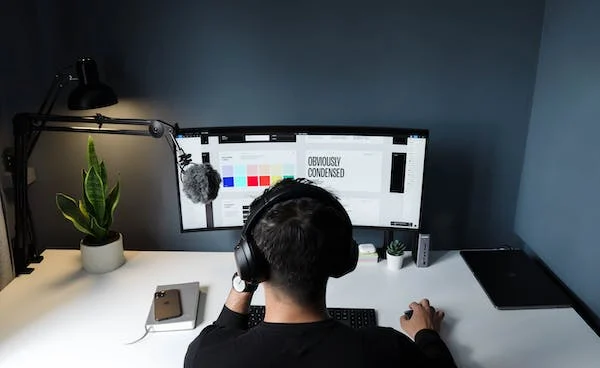
Congratulations on your new Sony WH1000xm4 headphones. To start your immersive audio experience, go through the following instructions.Let us know How To Connect Sony WH1000XM4 To A Pc?

To Connect Sony WH1000XM4 To A Pc is a simple process. The headphones use Bluetooth to connect with your PC, and this process is called “pairing”. To complete the pairing process follow the steps below and you will have your device connected and ready to use in no time.
Make sure you have the following before you begin the process:
- Your headphones are fully charged.
- Your PC has a Bluetooth option.
- Your PC’s Bluetooth option is enabled (for instructions on how to do this, see [part A – Bluetooth pairing] points 1, 2, and 3).
- You are using the latest version of Windows – Windows 11 (to know how to connect with windows 10 go to the end of this article)
Part A – Bluetooth Pairing
Step 1: PC and Bluetooth
- Turn on Bluetooth on your PC – to do so, press the Windows button on your PC (bottom left of your keyboard).
- Type [Bluetooth] into the search field and hit Enter (fig1). This will take you to the Bluetooth settings. (fig2)
- Turn the Bluetooth on if it’s turned off.
- Right below the Bluetooth on/off option, you’ll find [add device]. Click that option and a box will pop up.
- The pop-up box will show three options – Bluetooth, Wireless display or dock, and Everything else. Select Bluetooth.
Step 2: Pairing with Headphones
- The power button can be found on the left ear cup of the headphones (fig 4) – press and hold the power button. (Your new headphones will enter pairing mode automatically. If you’re pairing again, follow the rest of the steps below).
- Keep holding down the power button until you hear the words “[power on].”The LED indicators would start pulsing twice in a row which indicates that the headphones are ready for Bluetooth pairing. Release the button at this point. (Fig 5)
- On your PC you should now be able to see the [WH1000XM4] under add a device. Select the device.
- Once connected the popup box will close and you will land back in the Bluetooth settings. There, under audio, you’ll find your headphones connected to your PC.
6. Now that your device is connected, you can start using it.
Part B – Sound setting
This part of the settings is optional, but if you’re someone who needs extra customization options in terms of sounds, follow the instructions below to get the best out of your headphones.
Step 1
- Press the Windows button on your PC (bottom left of your keyboard). Type [sound] on the search bar and press Enter.
- The sound settings should be seen. Under the [output] option make sure [headphones] are selected instead of speakers.
- Toward the right end of the headphones option, you’ll find an arrow key pointing right. Pressing that arrow will take you to headphone properties. This settings page will have all the available sound quality options that are inbuilt into your PC, [Dolby Atmos for Headphones] can be found in some Windows computers, for example.
How to connect a Sony WH1000XM4 to a Windows 10 PC
The Bluetooth pairing process is fairly similar to that of Windows 11, however, there are a few differences which we will see below.
Before you start the process make sure you have the following:
- Make sure you have the following before you begin the process: Your headphones have enough battery power.
- Your PC has a Bluetooth option.
- Your computer has Bluetooth enabled (to know how to turn Bluetooth on your PC go through points 1 and 2 in part A – Bluetooth pairing).
Step 1: PC and Bluetooth (windows 10)
- On your Windows PC, click the start menu and select the settings button.
- Type [Bluetooth and Other Devices] and press Enter in the settings window. The Bluetooth settings windows will appear after you click this.
- Make sure the Bluetooth is enabled. Select the [Add Devices] option. Which will open a pop-up box.
Step 2: pairing Headphones
- Press and hold the power button in the left earcup of the headphone for up to 7 seconds. A pulsing LED indicator flashing twice in a row should start. This indicates that the headphones are ready for pairing.
- Wait for the [WH1000XM] to appear on your computer screen. This might take 30 seconds to 1 minute to appear. (Restart the process if the device is not visible.)
- Once you see the name of your device on the list, select it.
- You will hear the voice saying [Bluetooth connected] and now your device is ready to be used.
- If the device asks for a PIN or Passkey input “0000”.
Your new headphones are now paired and ready to be used. To further your experience of Sony WH1000XM4, download the Sony Headphones Connect App to explore all the customization options and features. The Sony WH1000XM4 is the flagship device in the Sony’s headphones line up and it has won several awards and gained stellar reviews.
Frequently asked questions:
1) Q. my device does not appear on my PC.
- Restart your PC if that doesn’t work after you’ve tried restarting your Bluetooth settings.
2) Q.How devices can I connect to with WH1000XM4?
- WH1000XM4 can be connected with up to 2 devices simultaneously.
3) Q. is WH1000XM4 waterproof?
- No, WH1000XM4 is not waterproof. However, your headphones are water-resistant, which means your headphones will survive a heavy sweaty workout on the ground and not underwater.

